Collection: Wick Centering for Smooth, Clean Burns • Your Candle’s Core: Wick Setup Essentials
For optimal candle performance, place the wick centered at the bottom of the container using a secure adhesive, ensuring it stays upright during pouring and curing.
Here’s a breakdown of best practices for both top-to-bottom alignment and bottom wick anchoring:
Top Wick Placement: Centered for Even Burn
-
Centered Placement is the gold standard. It ensures:
- Even wax melt pool
- No tunneling or wasted wax
- Consistent fragrance throw
- Use a wick centering tool or a simple chopstick/pencil laid across the top of the container to keep the wick upright and centered while the wax cools.
Bottom Wick Anchoring: Secure and Straight
-
Wick Stickers or Glue Dots: These adhesive pads securely hold the wick tab in place at the bottom of the container.
-
Hot Glue: A dab of hot glue on the wick tab can also work well—just press and hold for a few seconds.
-
Wick Bars or Clips: These help maintain vertical tension, preventing the wick from drifting or leaning during pouring.
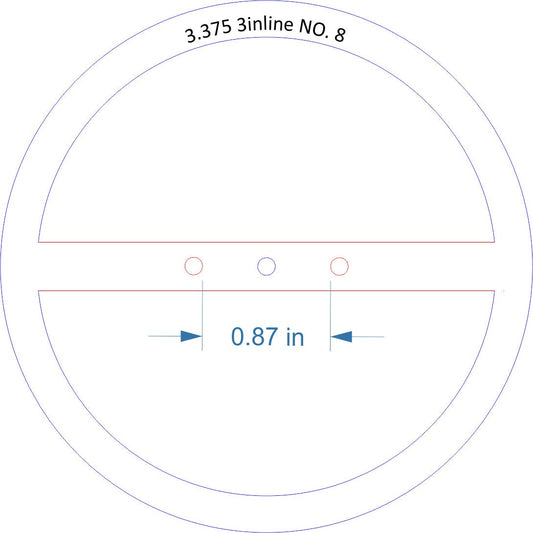
Multi-Wick Placement (for wider candles)
- For containers over 3.5 inches in diameter, consider multiple wicks.
- Space them evenly apart and equidistant from the center and edges to prevent tunneling or overheating.
Pro Tips
-
Pre-tabbed wicks simplify placement and reduce shifting.
-
Test burns are essential because different waxes, fragrances, and containers affect how a wick performs.
- For wooden wicks, ensure they’re flush with the bottom and fully adhered to prevent floating or poor ignition.